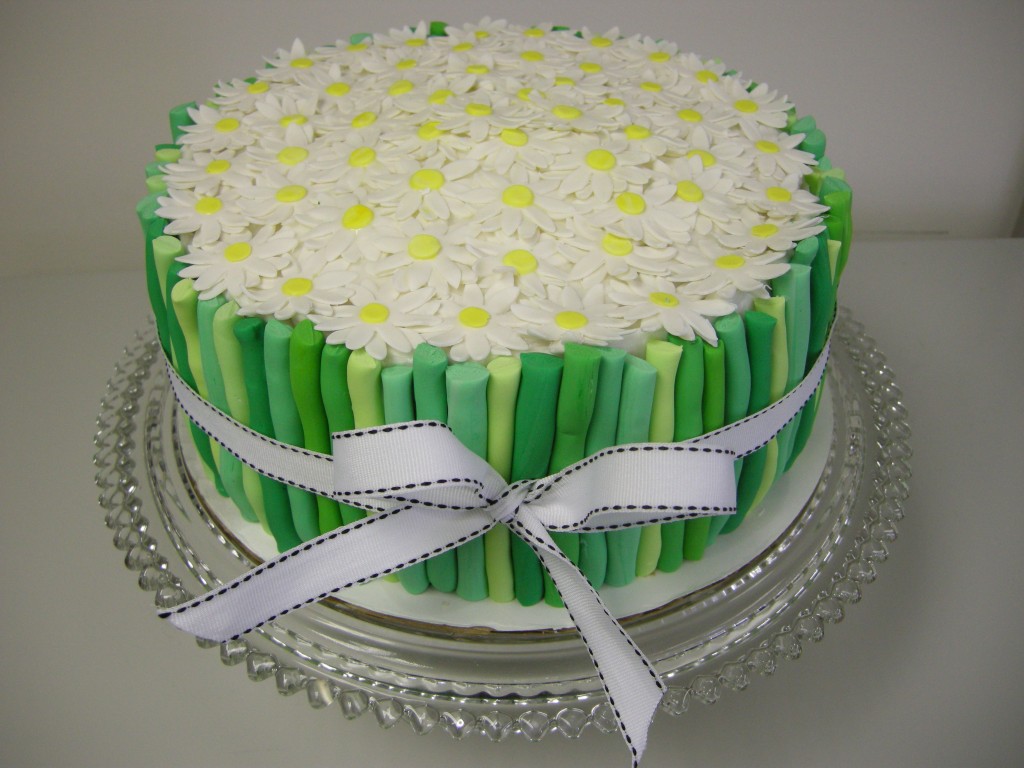
So it may seem as though I’ve fallen off the face of the earth. I didn’t. I just fell off the face off this blog. It’s been a busy few weeks which I may or may not have mentioned a whole bunch before. Honestly, I’ve just been too tired to bake. But, I’m back! And I’ve baked!
I’ve made this delightfully season-inappropriate cake for our our admin at work. She’s the best. She makes everything work around here. And it’s her birthday! Actually, her birthday was on Saturday, but none of us realized until Friday, so we’re a bit belated.
The cake is a bit spring-y, even though we’re rounding the corner to fall in these parts, but it’s a concept I’ve been wanting to try for a while. I think it came out pretty well if I do say so myself and wasn’t terribly complicated to make.
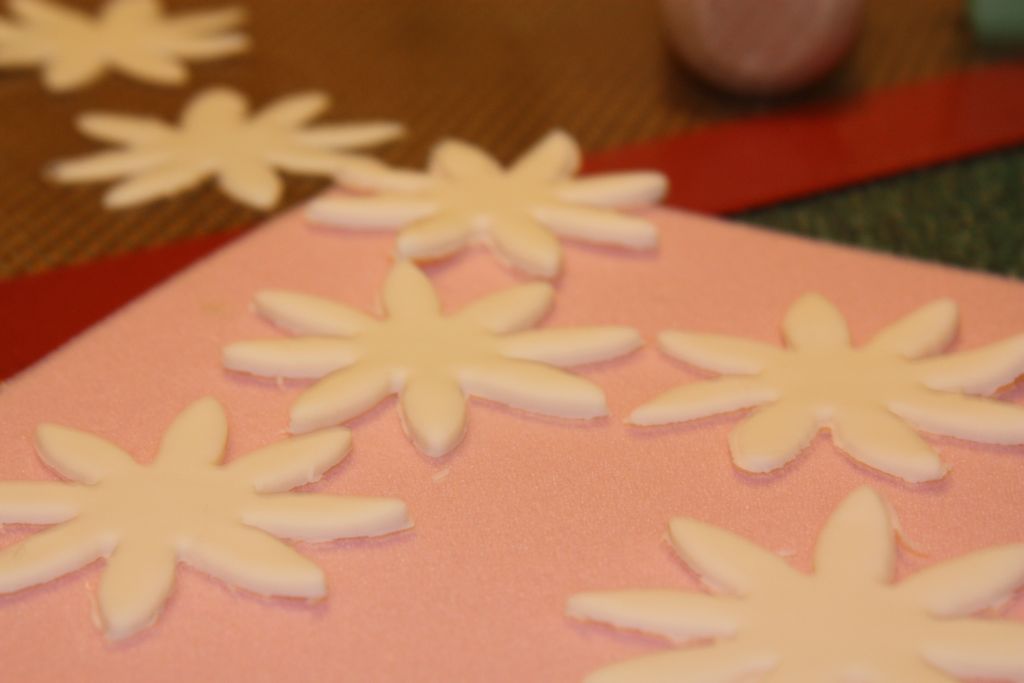
I started out making some gumpaste daisies. Basically, you just have to roll out the gumpaste really thin and use a daisy shaped cutter. I got bought one of these gumpaste flower kits which shows you how to make a variety of different ones. I roll out my gum paste on a silpat mat.
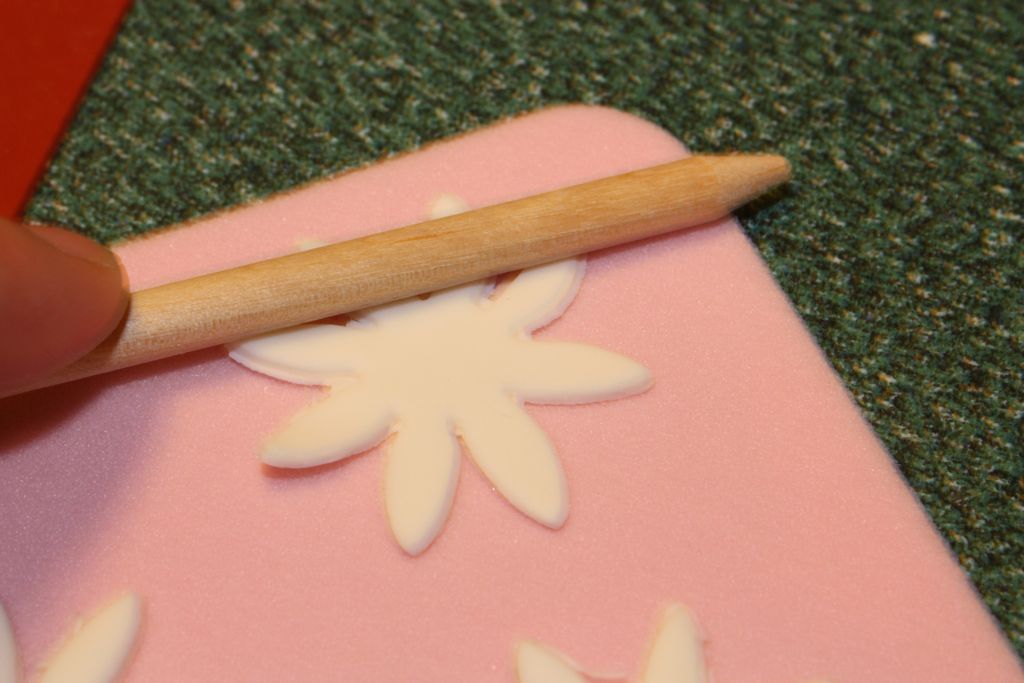
The flowers are pretty small though, so you use a little wooden stick to sort of flatten out the blossoms a bit. The kit comes with a piece of foam to do it on which allows you to do this without the gum paste sticking to the surface. Each daisy is made up of two flower cutouts plus a little yellow circle for the center.
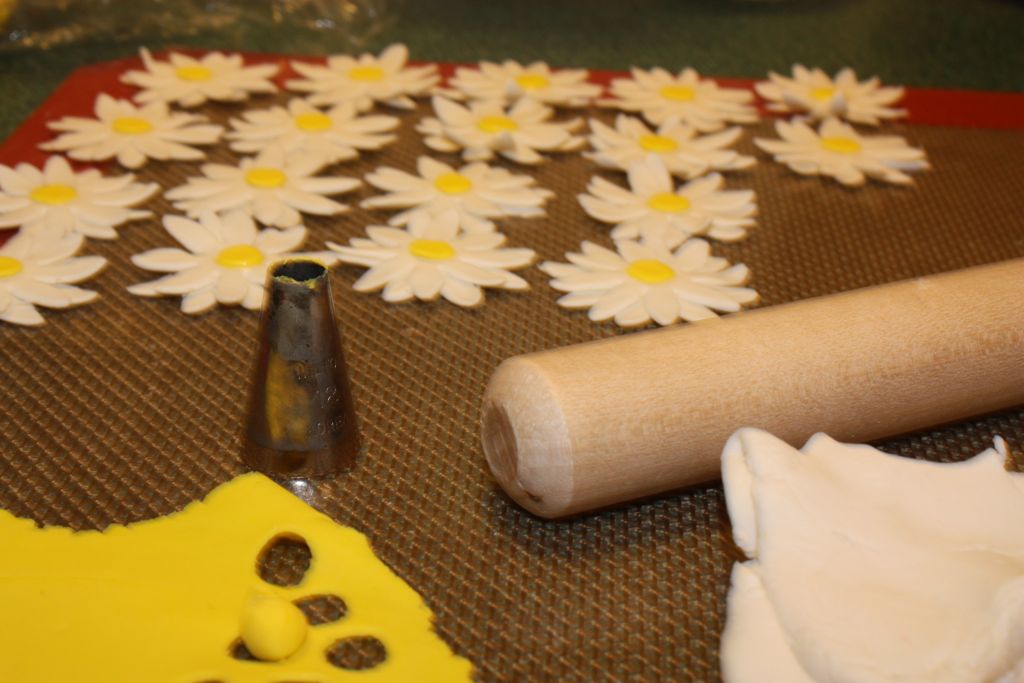
Stack the daisies on top of one another so that the petals are spread out and stick them together with a dab of water. I then used a thin piece of yellow fondant to make the center of the flower and glued those on with another dab of water. I then set them aside to dry. Since the gum paste was so thin, it didn’t take long. Also, if they aren’t completely dry before you want to put them on the cake, it’s not a big deal.
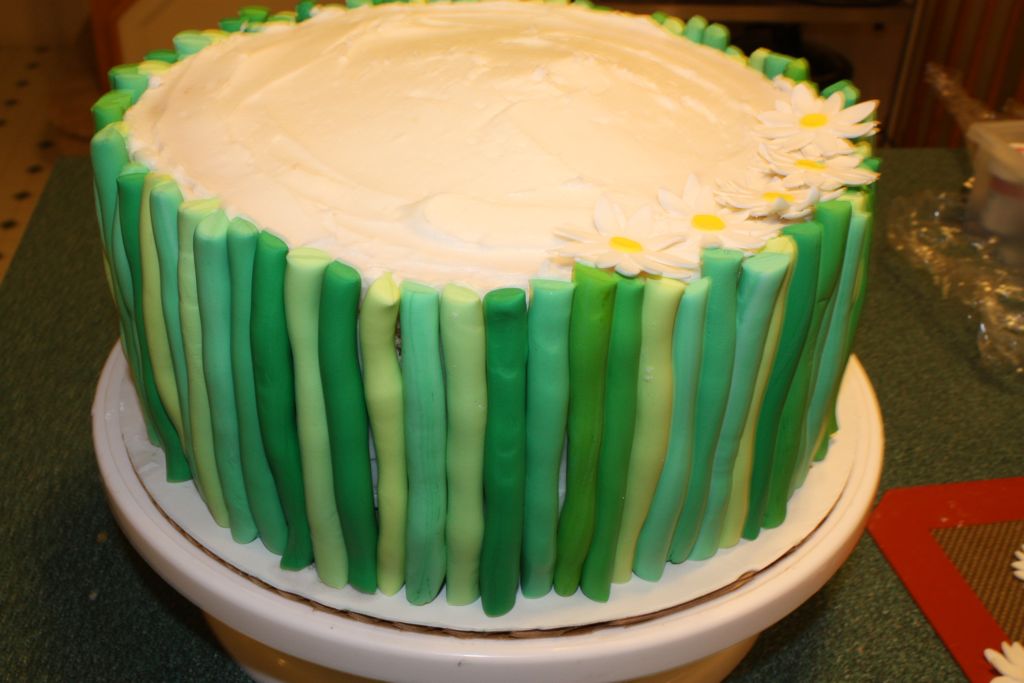
I stacked two 10-in round cakes and iced them with a very thin layer of icing. The icing does not have to be particularly beautiful since it’s going to be covered with fondant. To make the stems, I just dyed a couple of balls of fondant varying shades of green. I then rolled each color out into a about a 1/4 in diameter log and stuck a piece to the side of the cake. I didn’t cut the pieces prior to putting them on the cake. Instead, I dangled the log until the stem was where I wanted it to be, and snipped it off at the appropriate length with a scissors. I just repeated until the entire edge of the cake was covered.

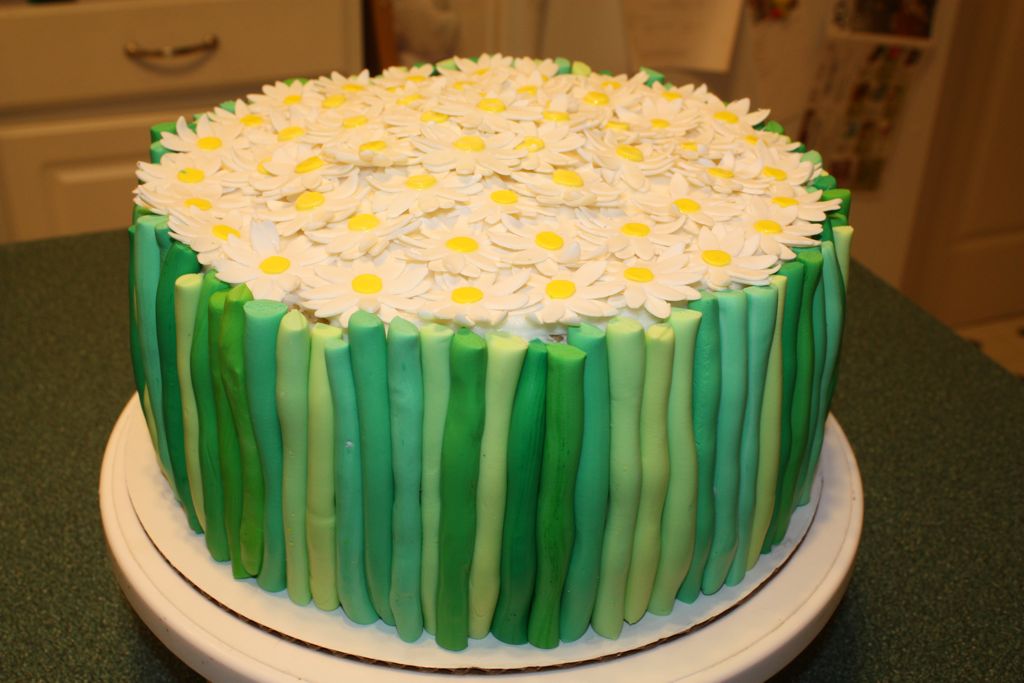
With the extra icing I had leftover, I created a little mound in the center of the cake to give it a bit of dimension. Then, I just dropped the daisies onto the cake so they overlapped a little until the cake was completely covered. Voila! I perfect springtime cake just in time for fall!

Comments
oooohh… so lovely! i just got done making like 30 or so daisies for my cake. i planned to put them randomly on orange cake and make a blue bow and ribbon on top,,, but i love your idea soo much. i think i will make something like this. also i think i will cover the to edges of the cake as well and make it more fuller. thanks for sharing.
Wow how very creative!!! i love this and thanks for the instructions. Love love love daisies!!!!
Have a grand life!!
Adel