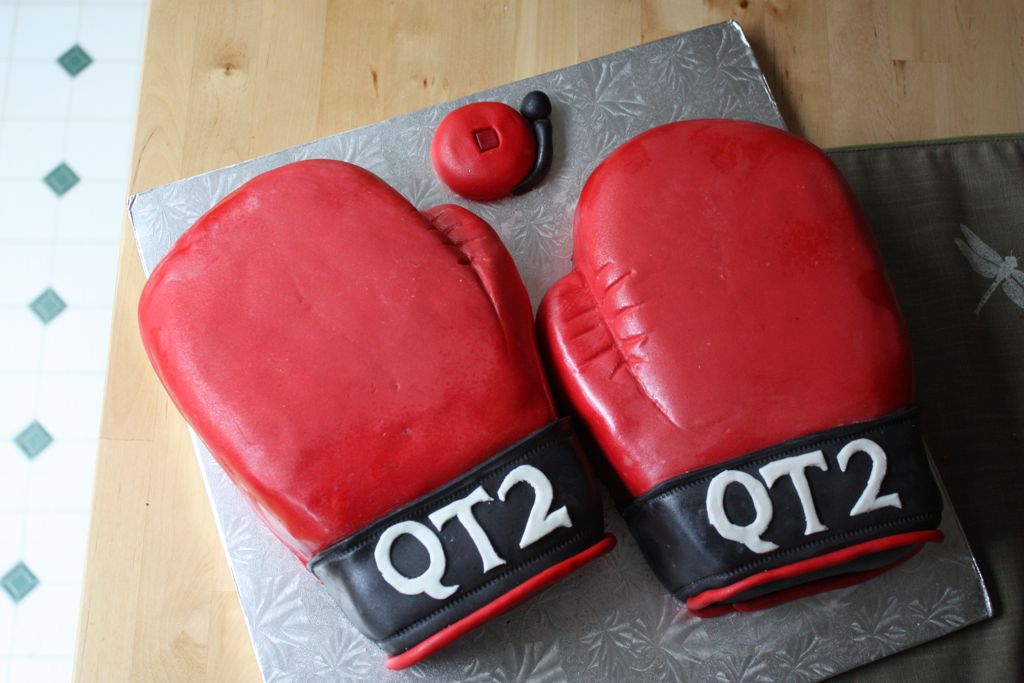
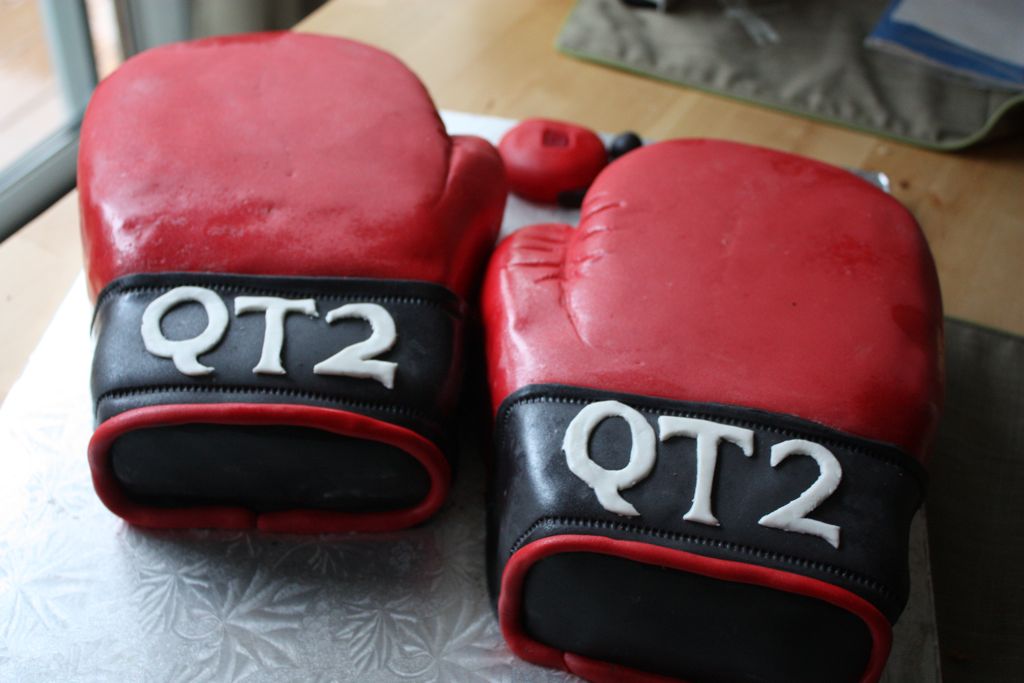
Cake. Haven’t made one in a while. So it was a real treat when I was asked to make some boxing gloves for a birthday cake. This cake was made for a little boy’s second birthday. He’s a big fan of boxing. And Rocky. I mean, who isn’t? I actually love Rocky. I love Rocky so much that I watched all 5 (before there was that 6th one) in row. Like in one sitting. Ok, to be fair, I was on a bus from Haverhill to Washington D.C. and it wasn’t so much a choice as the result of lobbying by a bus full of boys, but by the end I was hooked.
This cake has a little something special though. It plays music! Yup, see that bell up there? When you press the center button, “Gonna Fly Now” (the theme from Rocky) plays. It’s pretty sweet. And I’m going to show you how I do it.
First you make cake. This cake is a chocolate cake.
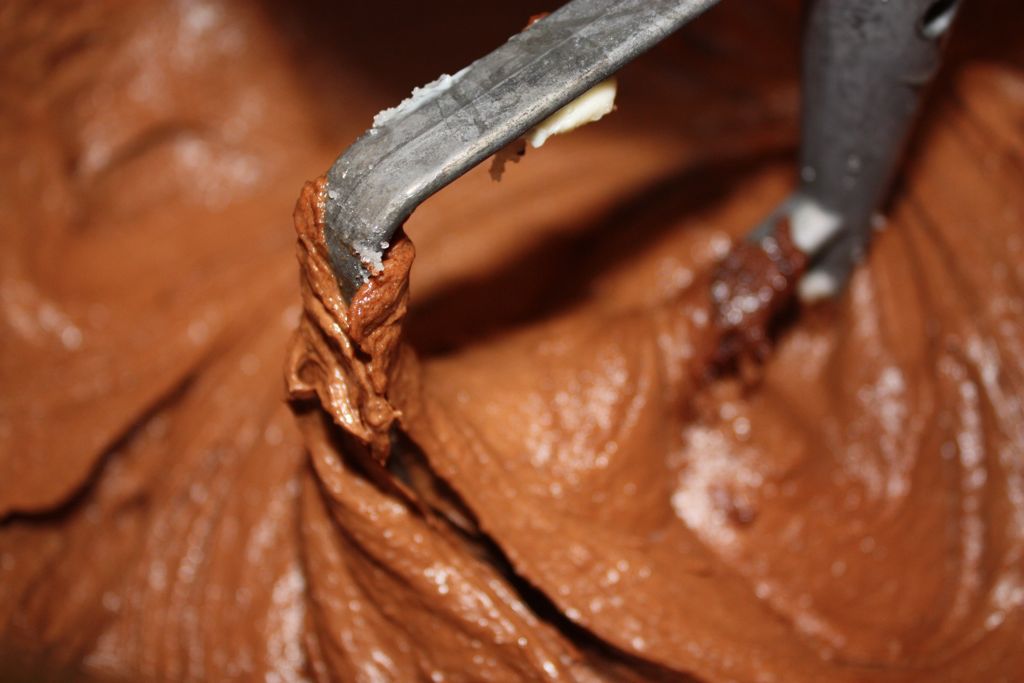
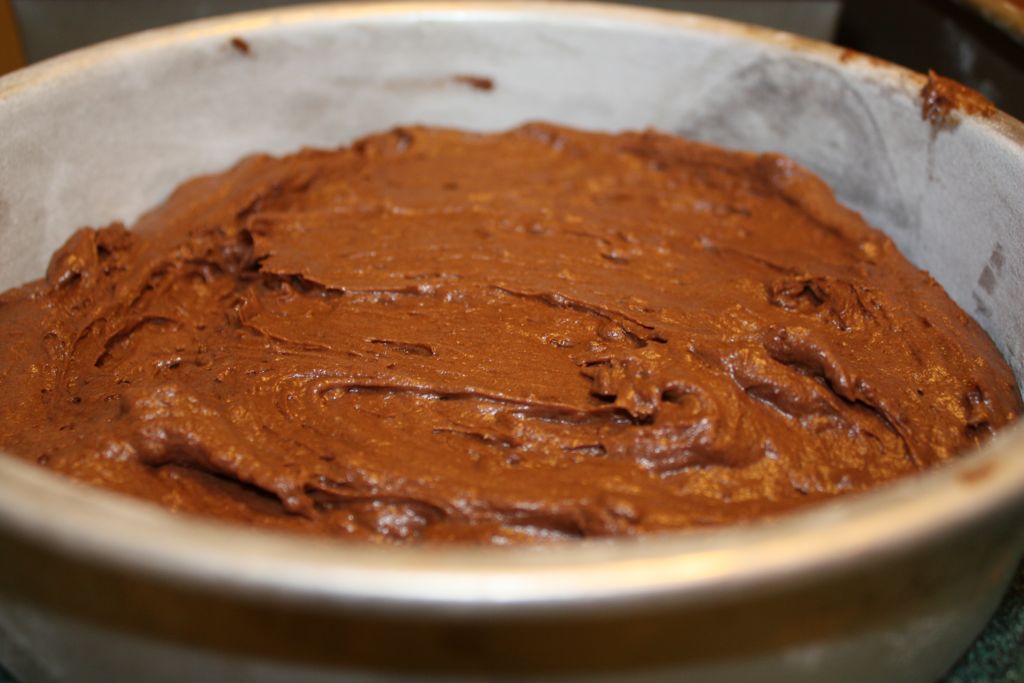
To make a pair of boxing gloves I ended up making two 8″ round cakes and two 9″ square cakes. This decision was mostly a function of what cake pans I had available.
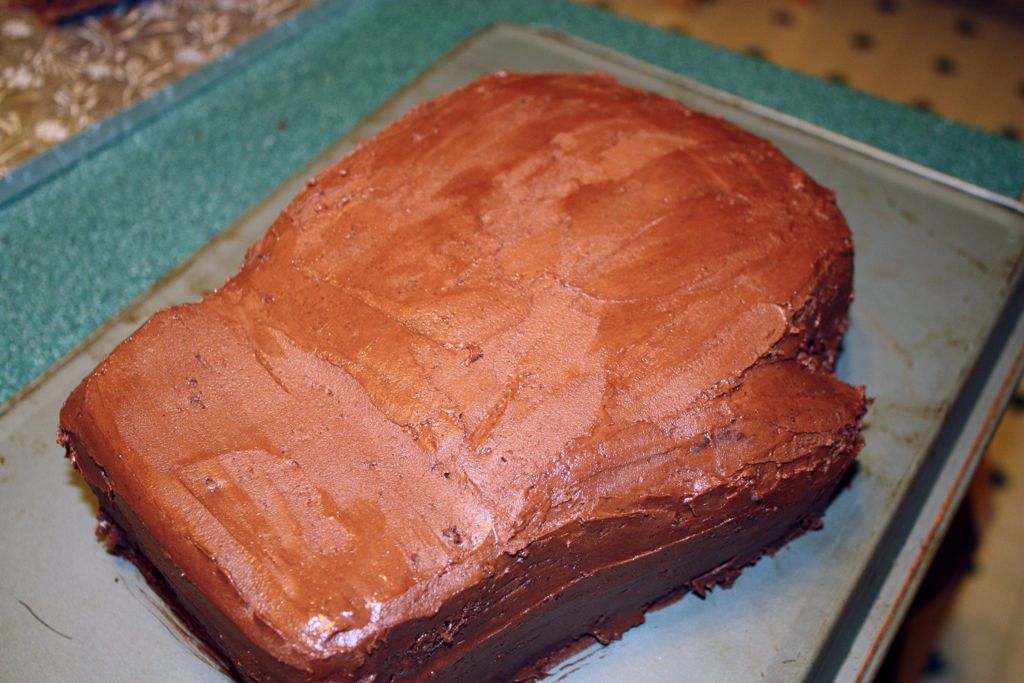
After the cakes were baked, I stacked them up. Each glove was one square cake with one round cake stacked on top. The cakes were carved free hand after looking at many many pictures of boxing gloves online.
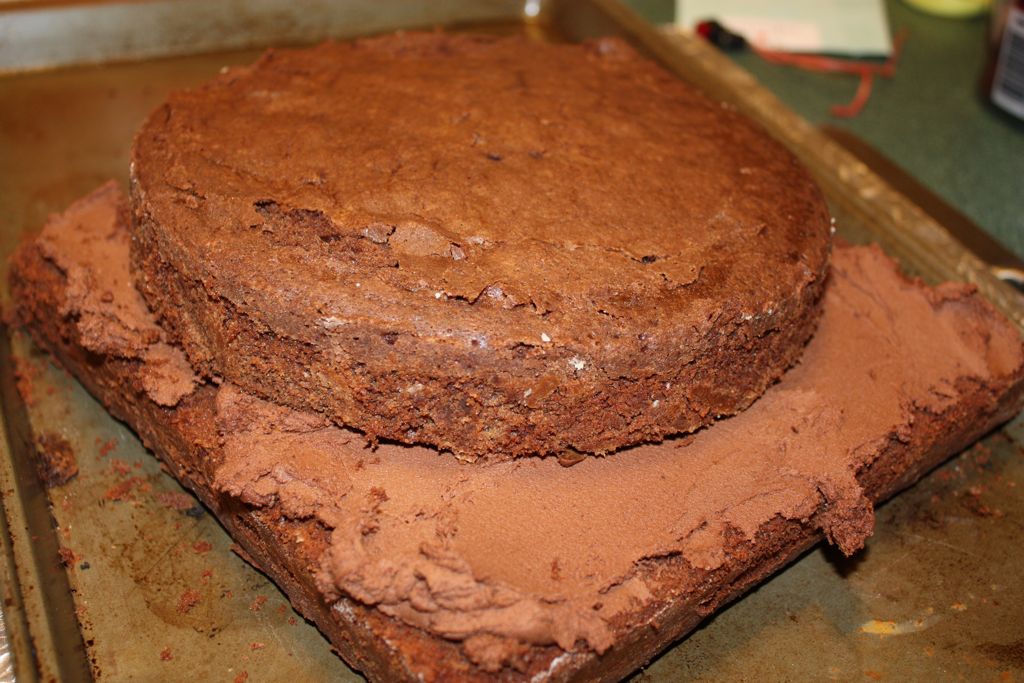
After carving the cakes, I iced each cake with a thin layer of icing just to smooth things over. Quickly dipping the spatula into a glass of water helps the icing going on more smoothly.
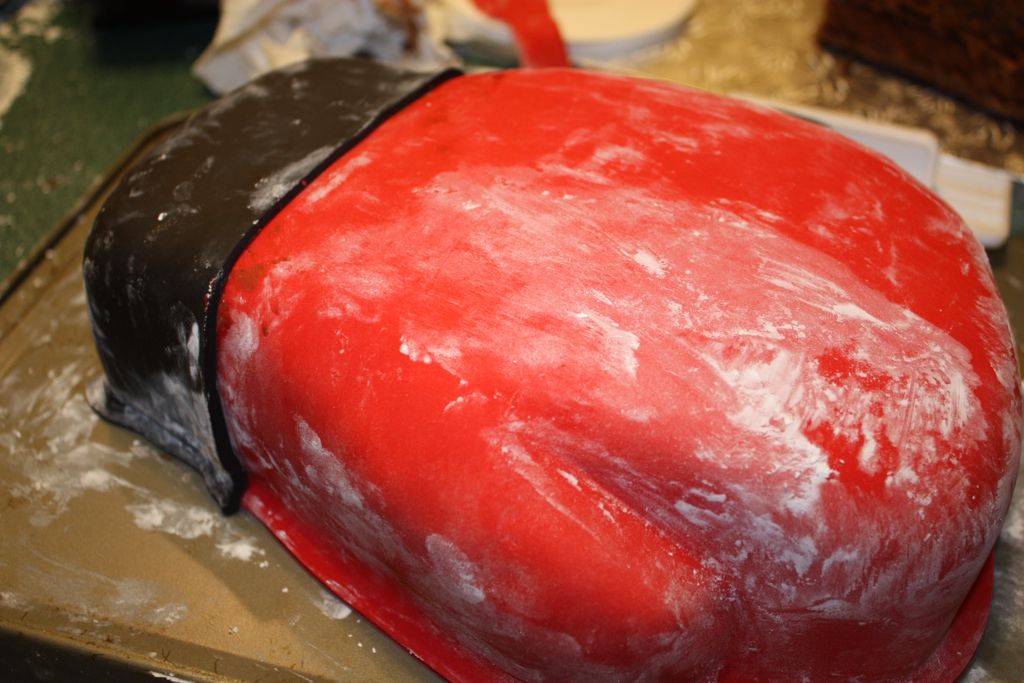
Then comes the fun part! After I carved each cake and put on the crumb coat, I covered the cakes with fondant. Red fondant covered the majority of the cake with some black for the wrist area. The white stuff is corn starch which helps prevent the fondant from sticking to the counter. It works like a charm.
After I put on the first layer of fondant, I used a stitch tool to make it look like there were stitches around the wrist area. In the crease area between the thumb and the rest of the glove I added some more detail using a wooden dowel to make it look like the material was bunching. Some red piping finished off the detail.
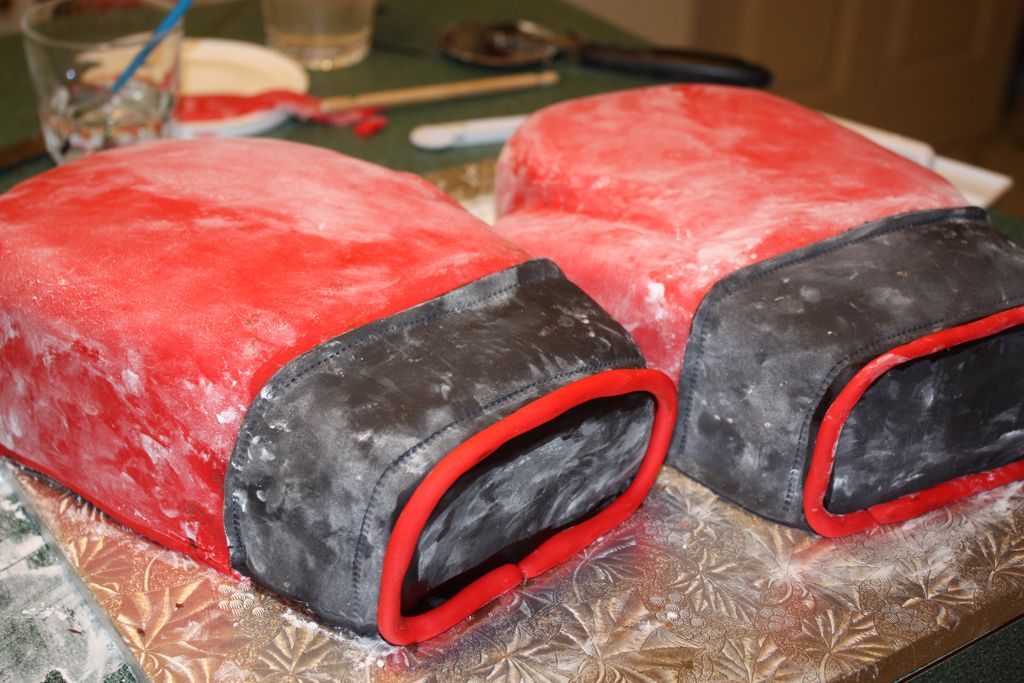
The last bit was the lettering (which I forgot to take a close-up picture of). I cut the letters out of white fondant by hand using a paring knife.
Finally, I can’t very well deliver a cake covered in white dust. So, I used my airbrush to clean off the cake and give it a little shine. The airbrush is a regular painting airbrush from the craft store. I spray the cake with a mixture of shimmer powder and rum (usually I use vodka, but I didn’t have any on hand). The alcohol evaporates quickly (much faster than water) to leave the cake looking smooth and shiny without affecting the taste or consistency of the fondant.
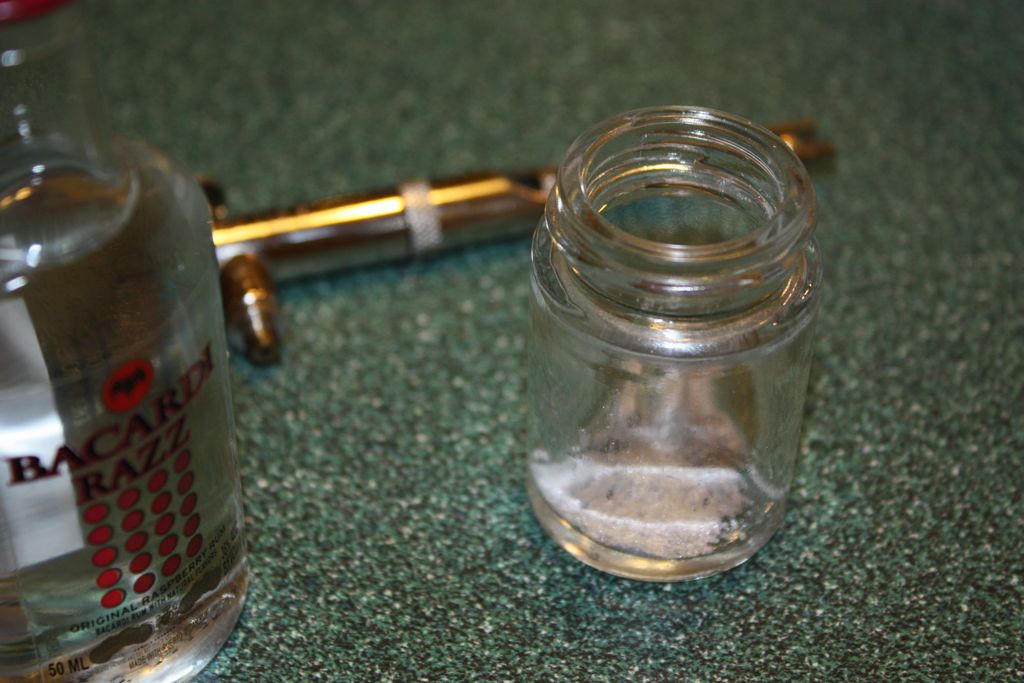
There are special air compressors that sit on the counter and are made to be used for cake decorating. But I don’t use one of those. No no, I use this:
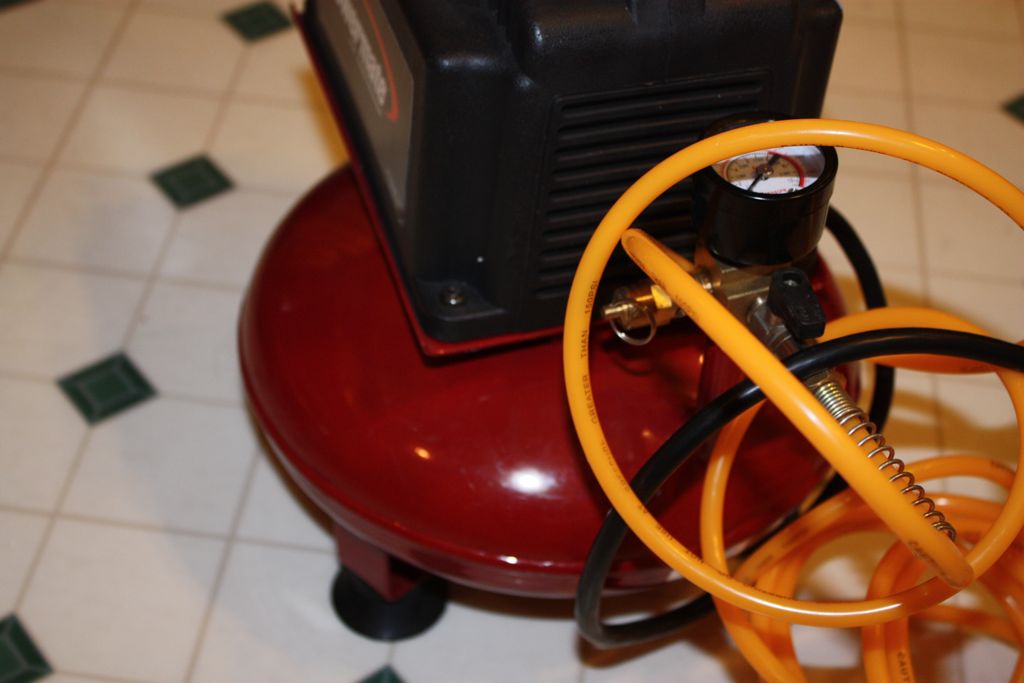
My air compressor is for industrial work. I believe it came with a staple gun and safety glasses. After a quick spray, the cake is finished!
Of course, I haven’t shown you how to do the super-cool, secret extra surprise. It’s actually not that hard. I mean, I’m a mechanical engineer and I’ve somehow managed to figure out how to hook up a circuit (shh..don’t tell my electrical engineer friends).
The secret to the music is this:

That’s right, a cheesy greeting card. The cheesier the better.

What’s really important is what you find when you rip that card open. Inside, is a conveniently packaged, self-powered, music box. After a few trips to a bunch of different stores, I managed to find the appropriate song. These cards are all over the place: bookstores, grocery stores, Walmart, Target…just need to do a little hunting.
Then, a quick trip to Radioshack to find the appropriate switch and you’re on your way.

Basically, the card works by placing a piece of cardboard between to metal leads. When you open the card, the metal parts touch and the circuit is complete. Then you can listen to your favorite 30 second clip…over and over and over again. The switch just allows the user to control that circuit. One wire goes to each metal lead and when you press the button, the circuit is complete!
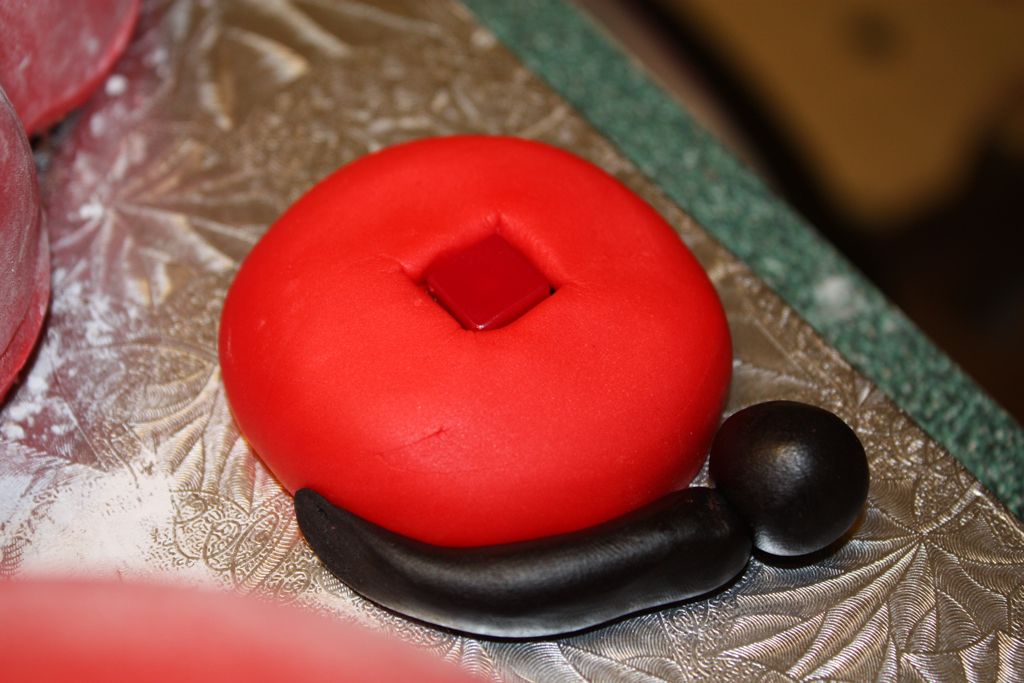
The music assembly was taped to the underside of the cake board and the switch was just embedded in a fondant “boxing bell”. Press the button and get inspired!
It’s not too hard and definitely adds a special extra touch to a cake! I think I’m ready to go for a run and chase some chickens now…

Comments
Awesome blog! Do you have any hints for aspiring writers?
I’m planning to start my own blog soon but I’m a little lost on everything.
Would you suggest starting with a free platform like
Wordpress or go for a paid option? There are so many options out there that I’m totally overwhelmed ..
Any suggestions? Many thanks!
Its not my first time to go to see this website, i am browsing this web site dailly and get
good data from here daily.
How much will you charge for a boxing gloves cake my son is a boxer and birthday is tomorrow
Pingback: Star Wars Cake (304/365) | simmiecakes
I keep listening to the news update lecture about receiving boundless online grant applications so I have been looking around for the top site to get one. Could you advise me please, where could i acquire some? dffadggefdbb
Hi thank u very much for putting this video up I tryed it and it worked and very simple to do but notice the more icing I put on it the singing got quite and more quite is that why u placed it on the board and not on cake . Was also woundering if u tried it on anything else and would u be able to hear it if I was to do it as a nose like on a teddy bear or a horn for a car ? Thanks again
Thank u ever so much for puttin this video up I tryed it and it worked the person was so happy I was wondering if u have tryed it on anything else like a teddy for a nose or on a car for a horn but one thing I notice that when I puttin on icing the song gets quite and more quite is that why u put it on board and it can’t go on top of cakes thanks
Pingback: Super Hero Cake
hi can you let me no were to get the card from, a web site if pos thanks Sue
Unfortunately, I don’t have a website for this card. I think I stumbled upon the card in the greeting card section of the store. Sorry I can’t help you out!
Hi, Starting a cake & cupcake business..doing a party in 1 week. Thank u for the step by step process, came just in time. Looks perfect for my theme.
Hi… I came across your cake and fell in love with it! Its an amazing cake. I have a question how did you the whole circuit thing? Im planning on doing something similar for my husband but i just can’t seem to understand how you did it. Is it possible that you can let me know but step by step im not very good at this electrical stuff.
Unfortunately I don’t think I have a full tutorial anywhere online with pictures, which is probably what would be the easiest way to do it. Do you understand how a circuit works? My suggestion would be to look for a greeting card that plays music and take it apart. One part of the card is the music player. There’s usually a strip of metal that is separated from the music player side by a piece of paper or cardboard. Basically, you are going to reroute that connection using wire and a switch. There’s generally soldering involved as well, so it’s best to familiarize with some of this electrical stuff before jumping in. Here’s some info about switches: http://en.wikipedia.org/wiki/Switch
And some info on circuits: http://science.howstuffworks.com/environmental/energy/circuit.htm
Hope that helps!
Hi!! Where did you buy the air compressor? Home Depot?
I made the stitching by using a fondant tool. You can buy them at most craft stores: http://www.amazon.com/Wilton-1907-1206-Cutter-Embosser/dp/B000W5G5HA
Just make sure you put the stitching on when the fondant is still soft. If you try to do it much later, the fondant will just crack.
I think when I carved the cake, I took some of the pieces I carved off to fill in the gaps between the different sized cakes. And then yes, the rest of it is filled in with lots and lots of icing. Let me know if you have any questions and let me know how it turns out!
Hey There LOVE the cake looks awesome!! Just a question before i attempt to make it (fingers crossed), can you please explain how you did the stitching and also where do you buy red fondant? I have baked a few birthday cakes now but am still a rookie! also I assume when you lay on the icing that the gap from the round cake and the square is filled in with the icing? I hope that makes sense…
Pingback: Guitar Cake @ simmiecakes
Hiya!. Thanks for the blog. I’ve been digging around looking some info up for shool, but there is so much out there. Yahoo lead me here – good for you i suppose! Keep up the great information. I will be coming back in a few days to see if there is updated posts.
Hi … I stumbled on this site by mistake. I was looking in Google for Accounting software that I had already bought when I came upon your site, I have to say your site is really cool I just love the theme, its amazing!. I don’t have the time this minute to fully read your entire site but I have bookmarked it and also signed up for your RSS feeds. I’ll back around in a day or two. thanks for a great site.
it’s so true. they couldn’t stand seeing that gorgeous cake cut — but they SO enjoyed eating it!
Welcome to the 2 year-old birthday party circuit! 🙂 The cake was a huge hit. One thing Pamela forgot to mention was that, as she was cutting it, the kids would all yell “nooooooooo!” every time the knife hit the cake. Hilarious.
p.s. the super cheesy birthday card seen in its actual form makes me love the cake all the more!
Simmie, Quinn Thomas LOVED his birthday cake! Every time we talk about cake now, he starts punching the air — as if all birthday cakes are shaped like boxing gloves. I’ll post some pictures and a video of him actually boxing to the accompaniment of his birthday cake to my blog soon. Thank you so very much for sharing your talent and expertise with us. We are among your biggest fans!